Iron-on patches are popular for adding a personal touch to clothing, bags, and other fabric items. They're an easy and effective way to customize your belongings or even cover up damage. But what if you change your mind or need to remove a patch? Is it possible to take off an iron-on patch without damaging the fabric? The answer is yes, and in this post, we'll guide you through the process of how to remove iron-on patches safely and effectively.
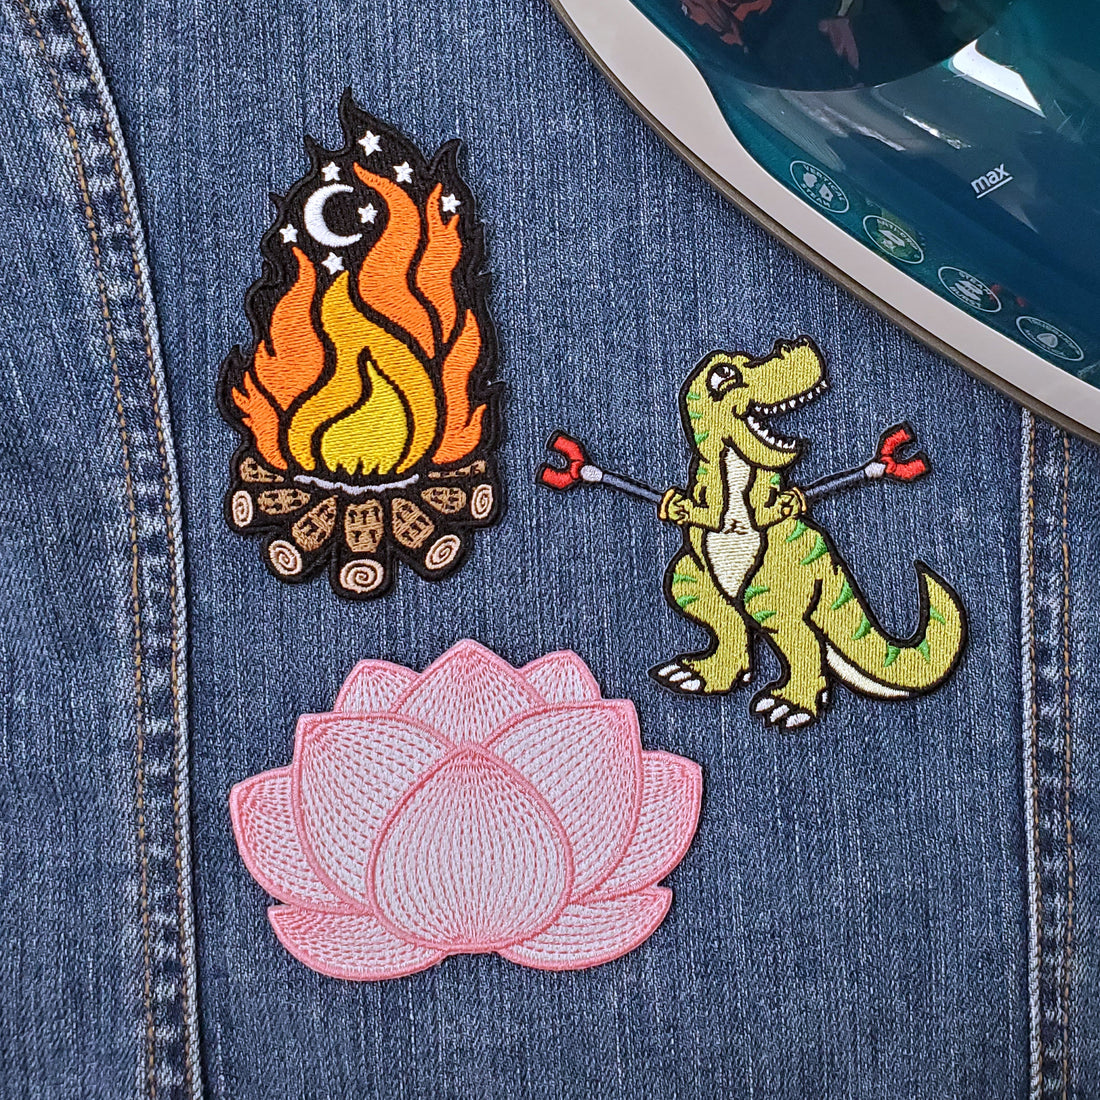
You can also browse our collection of cute and funny iron-on patches here.
Understanding Iron-On Patches
Before diving into the removal process, it's essential to understand what iron-on patches are. These patches are made with a layer of adhesive that melts when heated, allowing it to stick firmly to fabric. The key to removing them lies in reversing this process.
Tools You'll Need
- A thin towel or cloth
- An iron
- Tweezers or a small knife
- Adhesive remover or rubbing alcohol (optional)
Step-by-Step Process to Remove Iron-On Patches
Step 1: Preheat Your Iron
Set your iron to the highest setting that your garment can handle. Avoid using steam as it can make the removal process more difficult.
Step 2: Place a Thin Towel Over the Patch
Cover the patch with a thin towel or cloth. This protects both the patch and the fabric from direct heat.
Step 3: Apply Heat
Press the iron over the towel-covered patch for about 10-15 seconds. The heat will help loosen the adhesive.
Step 4: Gently Peel the Patch Off
Using tweezers or a small knife, carefully start lifting the edge of the patch. If the patch doesn't come off easily, reapply heat and try again.
Step 5: Remove Residual Adhesive
If there's any adhesive residue left on the fabric, you can use an adhesive remover or rubbing alcohol. Apply it to a cloth and gently rub it on the residue.
Step 6: Wash the Garment
Once the patch and adhesive are fully removed, wash the garment according to its care instructions.
Tips for Successful Removal
- Be patient and gentle to avoid tearing the fabric.
- If the patch is old or has been ironed on multiple times, it might be more challenging to remove.
- Test the adhesive remover on a small, inconspicuous area of the fabric first to ensure it doesn't cause damage.
Conclusion
Removing iron-on patches is possible with the right technique and a bit of patience. Whether you're rebranding your company's uniforms, updating your style, or repairing a second-hand find, knowing how to remove iron-on patches can be incredibly useful. Remember to always follow the care instructions for your garment to avoid any damage.
For more DIY tips, fabric care guides, and clothing customization ideas, visit our blog regularly. And if you have any questions or need assistance with patch removal or customization, feel free to contact us!
Check out our full selection of cute and funny iron-on patches here.